Everything you need to get Ubuntu 7.10 running on your Dell Inspiron 1501.
InstallationGutsy installs with no problems. There is a problem with GRUB, the resolution settings are wrong and this causes a 2 -3 minute lag in booting. Once done, Gutsy takes less than 25 seconds to load. You can find the guide on how to fix it
here.
WirelessTwo Methods:
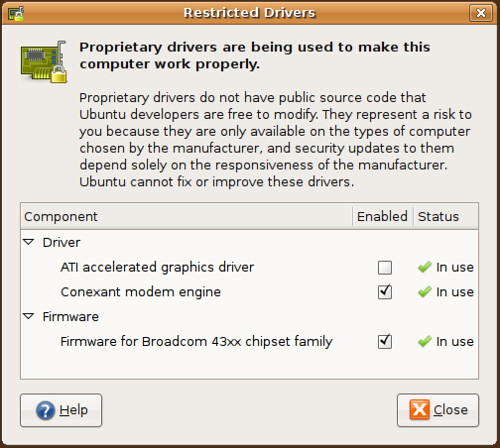
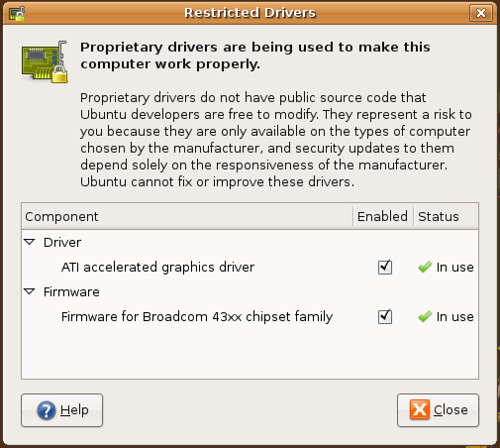
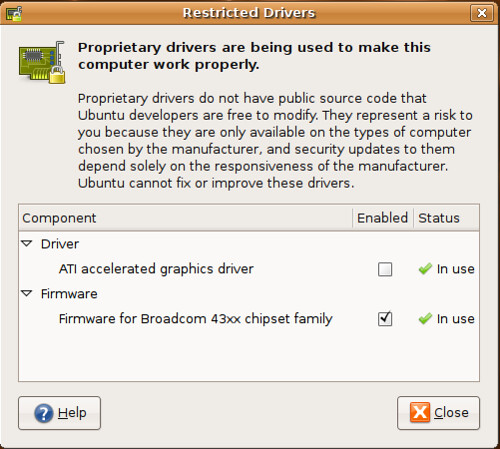
1. The Restricted Driver Manager can install the the firmware for the Broadcom 43xx card in the Dell 1501. You can find the guide
.
2. You can use ndiswrapper to install the driver. For the guide and maybe why you'd want to do it yourself, check out this
article.
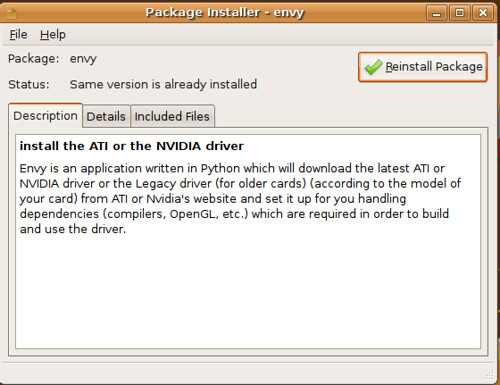
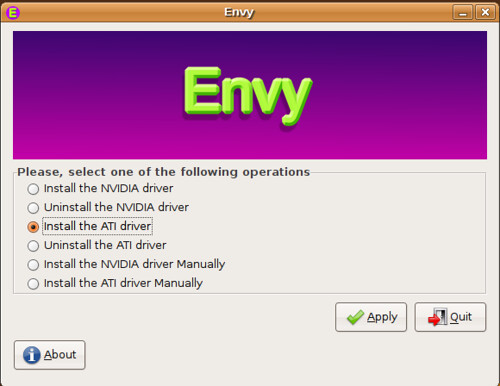
ATI Proprietary DriverTwo Methods:
1. The Restricted Driver Manager can install the the driver for ATI graphics card in the Dell 1501. ATI's 8.37.6 fglrx driver is automatically installed, configured and 3D enabled. You can find the guide
here.
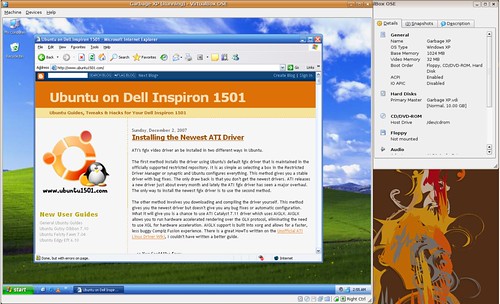
2. You can install the newest ATI driver that uses AIGLX yourself. You can find that guide
here.
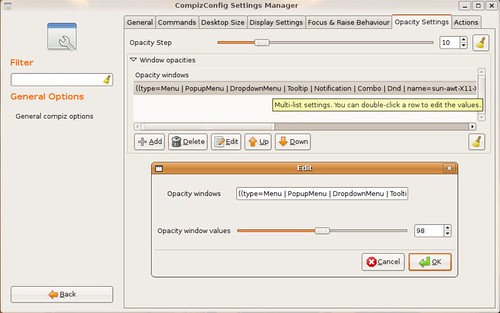
Compiz-FusionCompiz-Fusion is enabled by default, so you don't have to install anything. If you used ATI Propiety Driver method 1, use need to setup Xgl using
this guide to get Compiz-Fusion working. If you used ATI Propiety Driver method 2, Compiz works after a logout/reboot.
Media CodecsGutsy makes codec installation easy, no more automatix or struggling with adding repos. mp3, DVD, avi, aac, mpeg, wmv, asf, mov, flv, mp4, flash codecs are installed when you try to play them. If you like to add all the major codecs and make playback easy, check out
my codec cheatsheet. The only thing not enabled in Ubuntu is reading encrypted DVDs. To add DVD playback to Ubuntu follow this
guide.
EthernetWorks out of the box. In order to do any of these guides you're going to need to plug in your Dell Inspiron 1501. Don't be cheap, go out and buy an Ethernet cable.
Brightness & VolumeWorks with BIOS 1.70, use
this guide for rolling back you BIOS.
Suspend & HibernateDoesn't work if you install the Proprietary ATI Driver (either method). A bug in ATI's driver causes this. No fixes have been found yet. If you use the MESA driver that is installed by default suspend and hibernate will work.
Video OutWorks out of the box, Gutsy's Screens and Resolutions (System>Administration>Screens and Resolutions) makes using multiple monitors a breeze. Configuration doesn't require editing your xorg.conf file.
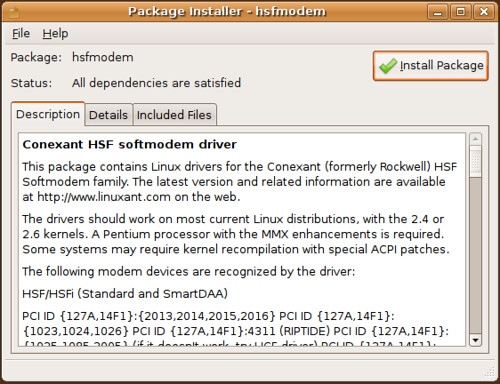
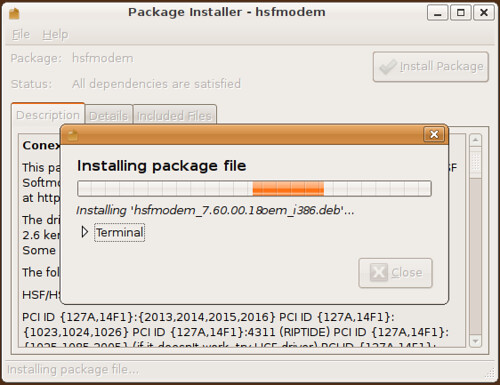
ModemWorks, you just need to follow
this guide to set it up.
Card ReaderWorks out of the box.
edited by pHreaksYcle